Start and Finish
 Some random thoughts on a Saturday…do you keep wound bobbins on hand? I usually wind 3-4 at a time. When they are all empty, I clean the lint from the bobbin case and wind them all up again! I was on the ball today and noticed that my bobbin was almost out at the end of a block, rather than halfway down a long seam. I use either beige or grey for all my piecing then do the quilting on my Gammill longarm.
Which brings me to the finishing topic! I was working on the border of a customer quilt, and thought I’d share my favorite sashing/border design. Free hand feathers are faster to stitch than you might think, and a one-sided feather is easy to put in almost any size space.
Start with a curved stem and a teardrop for the first loop of the feather. You will alternate groups of three loops on either side of your curvy stem.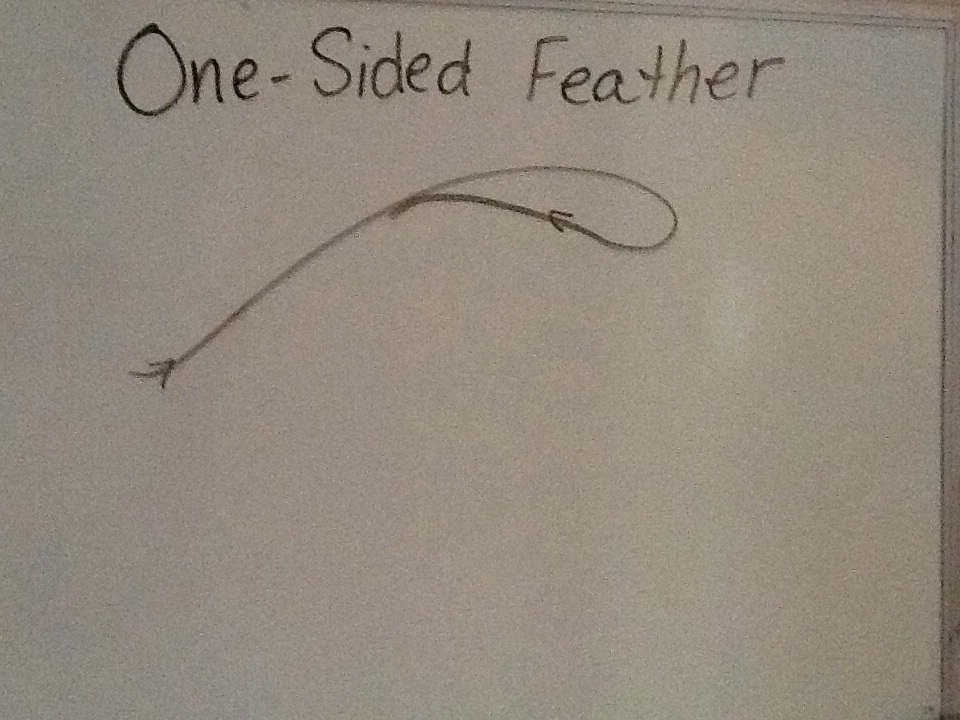
Tuck the next two loops under the first teardrop. I try to make each one a bit smaller than the previous loop. For the next group, echo along the stem and curve in the other direction. Start with the big teardrop and add two smaller loops.
Continue echoing along the stem and adding groups of three loops to each side. Of course, the number three is arbitrary…you can use four or five or any amount of loops depending on how large you make your curves and/or loops.
This sample is drawn on a white board, with dry erase marker, which is a good way to practice free motion quilting designs. Any time you spend doodling will build that muscle memory, making it easier to stitch a design when you sit down at the machine.
What are your favorite quilting designs?
